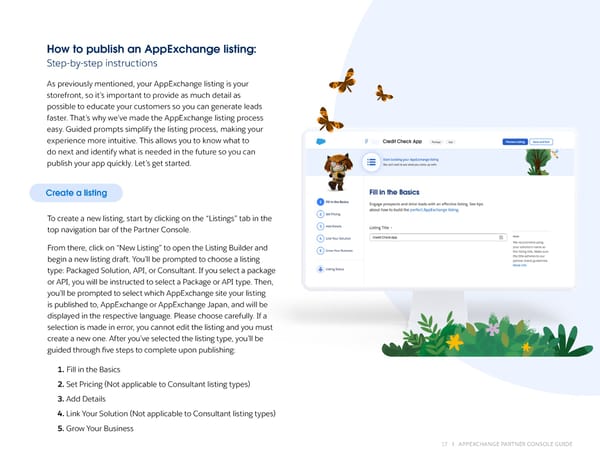
How to publish an AppExchange listing: Step-by-step instructions As previously mentioned, your AppExchange listing is your storefront, so it’s important to provide as much detail as possible to educate your customers so you can generate leads faster. That’s why we’ve made the AppExchange listing process easy. Guided prompts simplify the listing process, making your experience more intuitive. This allows you to know what to do next and identify what is needed in the future so you can publish your app quickly. Let’s get started. Create a listing To create a new listing, start by clicking on the “Listings” tab in the top navigation bar of the Partner Console. From there, click on “New Listing” to open the Listing Builder and begin a new listing draft. You’ll be prompted to choose a listing type: Packaged Solution, API, or Consultant. If you select a package or API, you will be instructed to select a Package or API type. Then, you’ll be prompted to select which AppExchange site your listing is published to, AppExchange or AppExchange Japan, and will be displayed in the respective language. Please choose carefully. If a selection is made in error, you cannot edit the listing and you must create a new one. After you’ve selected the listing type, you’ll be guided through 昀椀ve steps to complete upon publishing: 1. Fill in the Basics 2. Set Pricing (Not applicable to Consultant listing types) 3. Add Details 4. Link Your Solution (Not applicable to Consultant listing types) 5. Grow Your Business 17 APPEXCHANGE PARTNER CONSOLE GUIDE
 The AppExchange Partner Console Guide Page 16 Page 18